Business
What Steps Are Involved in Getting a Personalized Signature Stamp Made
Dec 31, 2025

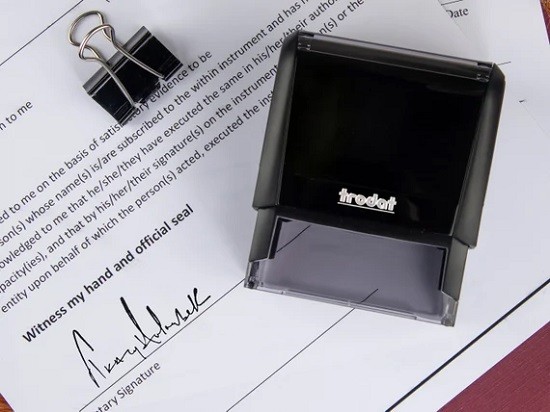
A signature stamp is a useful tool for people who sign documents often. It allows you to place a consistent signature on paperwork without signing by hand every time. This can save time, reduce strain on your hand, and help maintain a clean and uniform look on official records. Many business owners, office staff, and individuals use signature stamps for letters, invoices, approvals, and other daily documents.
Before ordering one, it helps to know how the process works. From preparing your signature to receiving the final stamp, there are several clear steps involved. Understanding these steps will help you avoid mistakes and get a stamp that fits your needs.
Step 1: Prepare Your Signature
The first step is to decide how your signature should look on the stamp. Most stamp makers ask for a clean sample of your handwritten signature. You can write it on a blank white paper using a dark pen, such as black or blue. It is important that the ink is solid and not faded.
Try to sign as you normally would on documents. Avoid adding extra lines or marks that you would not normally use. The stamp will copy exactly what you provide, so the clearer your signature is, the better the final result will be.
Once done, scan or take a photo of the signature. Make sure the image is sharp and well lit. Blurry or low-quality images can cause problems during the stamp creation process.
Step 2: Choose the Type of Stamp
Signature stamps come in different forms. The most common type is the self-inking stamp, which has an ink pad built inside. Each press delivers a clean mark without needing a separate ink pad. There are also traditional rubber stamps that require an external ink pad.
Another option is a pre-inked stamp. These use special ink inside the stamp body and produce smooth, detailed impressions. They usually last longer between refills and give a slightly sharper look.
Think about how often you will use the stamp and where it will be used. For office work, a self-inking or pre-inked stamp is often more practical. For occasional use, a basic rubber stamp may be enough.
Step 3: Select the Stamp Size and Layout
The size of the stamp affects how your signature will appear on paper. A small stamp may fit neatly on checks or forms, while a larger one may work better for letters or certificates.
Some stamp makers allow you to add extra text, such as your name or title below the signature. If you want this, decide what wording should be included and how it should be arranged. Keep in mind that too much text can make the stamp look crowded.
The goal is to have a clear and readable imprint that looks natural on the page.
Step 4: Upload the Signature to the Stamp Maker
Most companies that create signature stamps allow you to place your order online. After choosing the stamp type and size, you will be asked to upload the image of your signature.
This is where the process of How to get a Signature Stamp usually begins for most people. The company will use this file to create a digital version that fits the stamp.
Some providers offer a preview before final production. This lets you check if the signature looks right. If the lines appear too thin, too thick, or cut off, you can ask for changes at this stage.
Step 5: Review and Approve the Proof
After uploading your signature, the stamp maker may send you proof. This is a sample image of how the stamp impression will look.
Review this carefully. Check that the signature is complete and that there are no missing strokes. Look at the spacing and alignment as well. If you added text, make sure it is spelled correctly and placed properly.
If something looks off, request a revision. It is better to fix small issues now rather than after the stamp has already been made.
Step 6: Place the Order
Once you approve the proof, you can proceed with the order. This includes providing your shipping details and completing the payment.
The production time can vary. Some companies can produce a stamp within a day, while others may take a few days. Shipping time also depends on your location and the delivery method you choose.
During this stage, it is helpful to keep your order confirmation. It contains details that can be used for tracking or for customer support if needed.
Step 7: Receive and Test the Stamp
When your stamp arrives, open the package and check the stamp body for any damage. Before using it on important documents, test it on a scrap piece of paper.
Press the stamp down evenly to see how the signature appears. The lines should be clear, and the full signature should be visible. If the ink is too light, you may need to press a few times to get it flowing properly, especially with a new self-inking stamp.
This is also a good time to see if the size works well for your documents.
Step 8: Use the Stamp Properly
A signature stamp should be used with care. Store it in a clean and dry place so dust does not affect the ink or rubber.
When stamping, press straight down and lift straight up. Tilting the stamp can cause uneven marks. With regular use, the stamp will continue to give clear impressions.
If the ink starts to fade, you can usually replace or refill the ink pad, depending on the type of stamp you bought.
Step 9: Know the Rules Around Signature Stamps
Before using your stamp on legal or financial documents, it is important to understand the rules that apply in your area. Some banks and institutions accept stamped signatures, while others require handwritten ones.
For internal office documents, approvals, or routine forms, a stamp is often allowed. For contracts or official filings, check the requirements first.
Using the stamp in the right places will help avoid any problems later.
Step 10: Reordering or Updating Your Stamp
Over time, you may need a new stamp. This could be due to wear, a change in your signature, or a change in your name or title.
The process of How to get a Signature Stamp again will be similar. Keep your original signature file if possible, as it makes reordering faster.
If you need a different size or a new layout, you can update those details when placing the new order.
Conclusion
Getting a personalized signature stamp is a simple and organized process. From preparing a clean signature to selecting the stamp type and approving the proof, each step plays a part in getting a good final result. By understanding how the process works, you can avoid errors and receive a stamp that works well for your daily needs. A properly made signature stamp can save time, keep your documents consistent, and make routine tasks easier to manage.